To manage user roles and administrative settings, follow the steps below.
1. Click on the admin settings button shown in a red box.
2. From the drop down contents, click on the item named manage user roles.
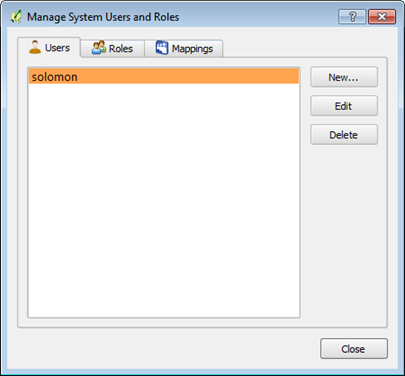
The dialog below appears. Here, you can manage users by creating, editing and deleting them.
A user is person authorized to manage and manipulate content set up on the configuration wizard.
The data management dialog will appear with the default user created. However, more users can set up new accounts for content management.
To create a new user, follow the steps below.
1. Click on the New button to input the required information.
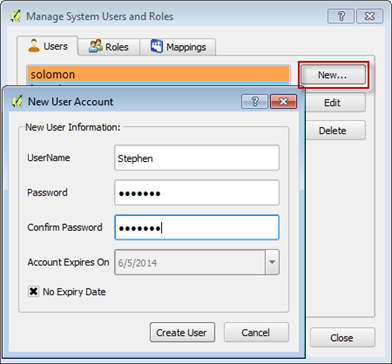
On the new user dialog, input the user name and create a password to login with.
The new user created can be given a timeline after which the user account created will expire.
By clearing the No Expiry Date check box , the expiry date set up will be deactivated.
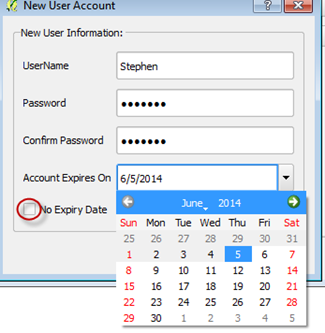
2. Click on the date button and set up an expiry date for which the new user account will be active.
3. Once done, click on the Create user button on the dialog to create the new user.
The user management dialog also has a user editing option.
1. To edit an already created account, select the user to be edited then click on the edit button.
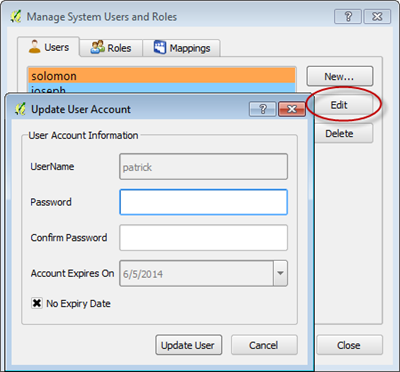
On the user update dialog, user can make any changes required.
2. Once done, click on the update user button to effect the changes.
If user clicks on the edit button before selecting an account, a warning dialog appears.
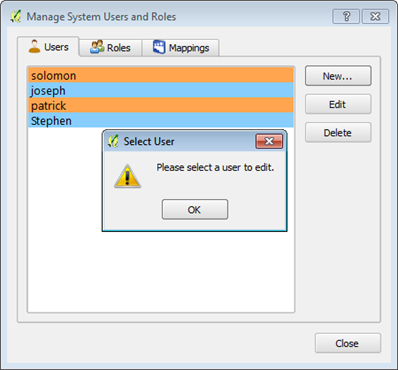
3. Click on OK button and select a user account to edit.
The user management dialog also has the option to delete an account
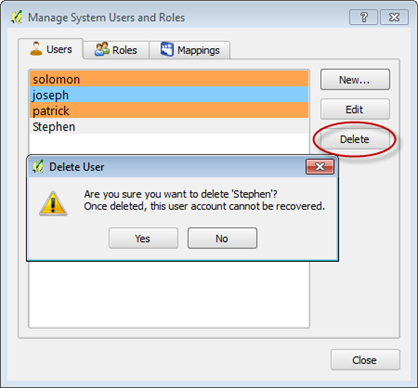
1. First select which user account to be deleted
2. Click the delete button.
A delete user warning appears,
user can confirm the delete action by clicking on the 'yes' button
to proceed. This will erase the account from the user list and any
roles.