Adding a record from Entity browser is possible for non-spatial entities. As spatial entities have geometry, a geometry needs to be digitized and an attribute data needs to be appended with the geometry once the digitalization is finished. To add a spatial entity record, by digitalization read Digitizing in a Spatial Entity Layer topic.
To add a new record, follow the steps below.
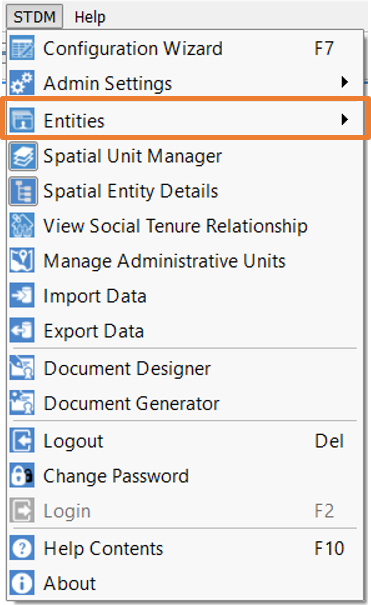
1. Go to the STDM Toolbar and click on Entities menu as illustrated in the image below.
You can also click on STDM Menu located under QGIS Menu and click on the Entities sub-menu as show in the image below to find the Entities sub-menu.
2. Open any Entity Browser you wish to view with the exception of New Social Tenure Relationship.
3. The Entity Browser of the entity you have selected loads a table similar to the one shown below. If you have not added any record, the table will be empty.
4. Click on Add button as shown in the picture below.
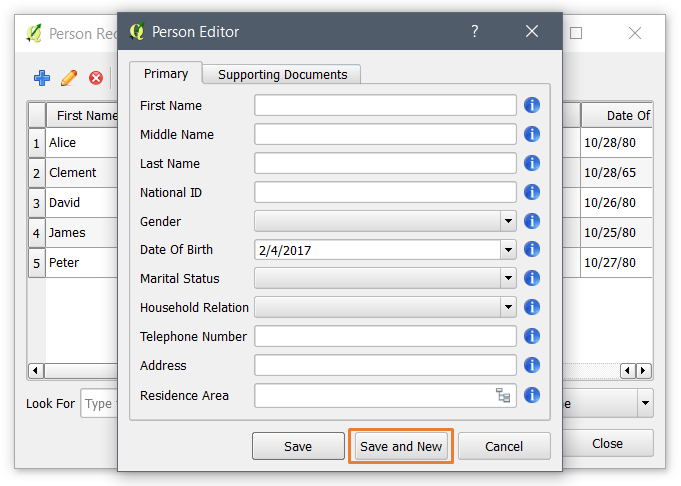
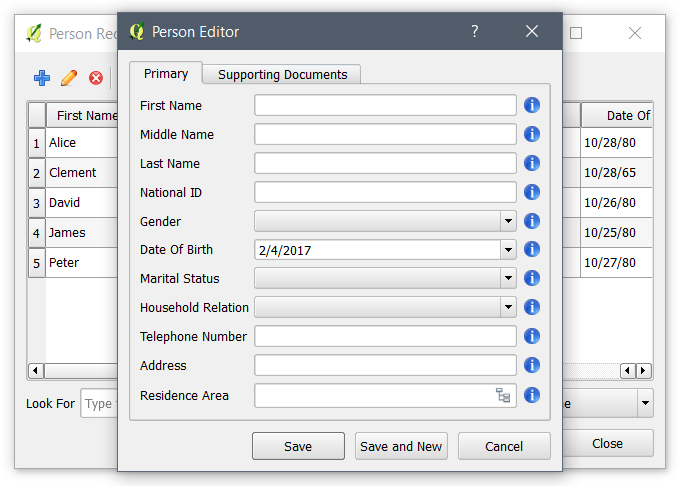
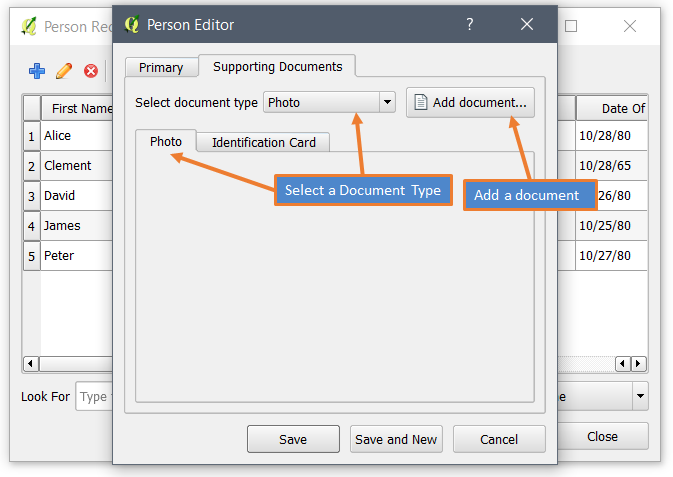
5. A pop-up dialog appears with a form (see the image below).
Primary Form Tab
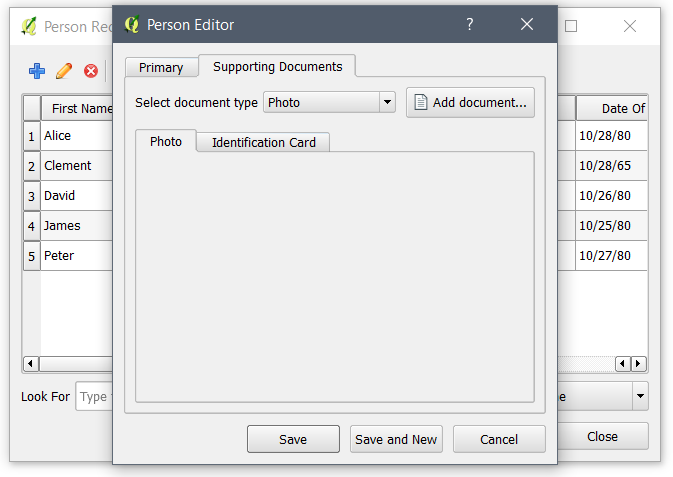
Supporting Documents Tab
6. Fill out the form under the Primary tab.
5. If the entity does not have supporting document option, click on the Save button. Otherwise, proceed to the topic Uploading Supporting Documents without saving.
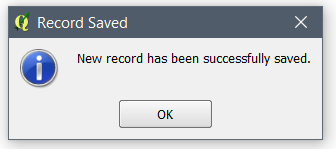
If the form is properly entered, a success message pops up, as shown below.
If an entity is supporting documents enabled, which can be activated in the Configuration Wizard Entities page, uploading supporting documents is possible.
If you have more than one document type, a tab will be created. You can click on the tabs or the drop down menu to upload the documents.
To upload a supporting document, follow the sub-steps below.
1. Choose on the document types by clicking on the tabs or the drop down menu. Then, click on the Add Supporting Document button as shown below.
2. Choose a file to be uploaded by looking for the files in your Windows Explorer and then click the Open button as shown below.
You will be able see the uploaded file added in the tab you have uploaded to, as shown below.
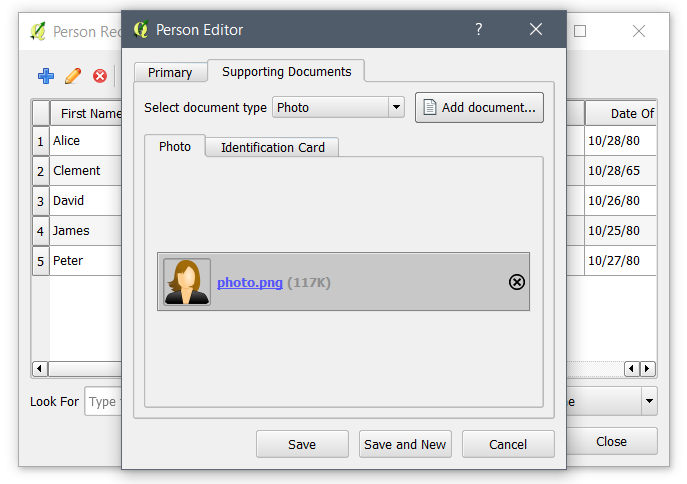
You can view the
documents by clicking on the file name. If needed, you can remove the
documents by clicking on the Remove icon (  ) on
each Document bars.
) on
each Document bars.
3. Click on the Save button. If the form is properly entered, a success message pops up, as shown below.
A new record will be added in the Entity Browser and you can see it added as a row.
Adding multiple records might be a bit time consuming. This is because, after saving a record using the Save button, it was required to click on two buttons to access the entity editor to add another record. In STDM 1.5, this issue is solved with the addition of the Save and New button. The button does the same thing as the Save button but reloads the form without showing a success message. To continue adding several records click on the Save and New button as highlighted in the image below.